

Where to find Custom Domain
Custom Domain lives in the white-label admin sidebar under Settings → Custom Domain.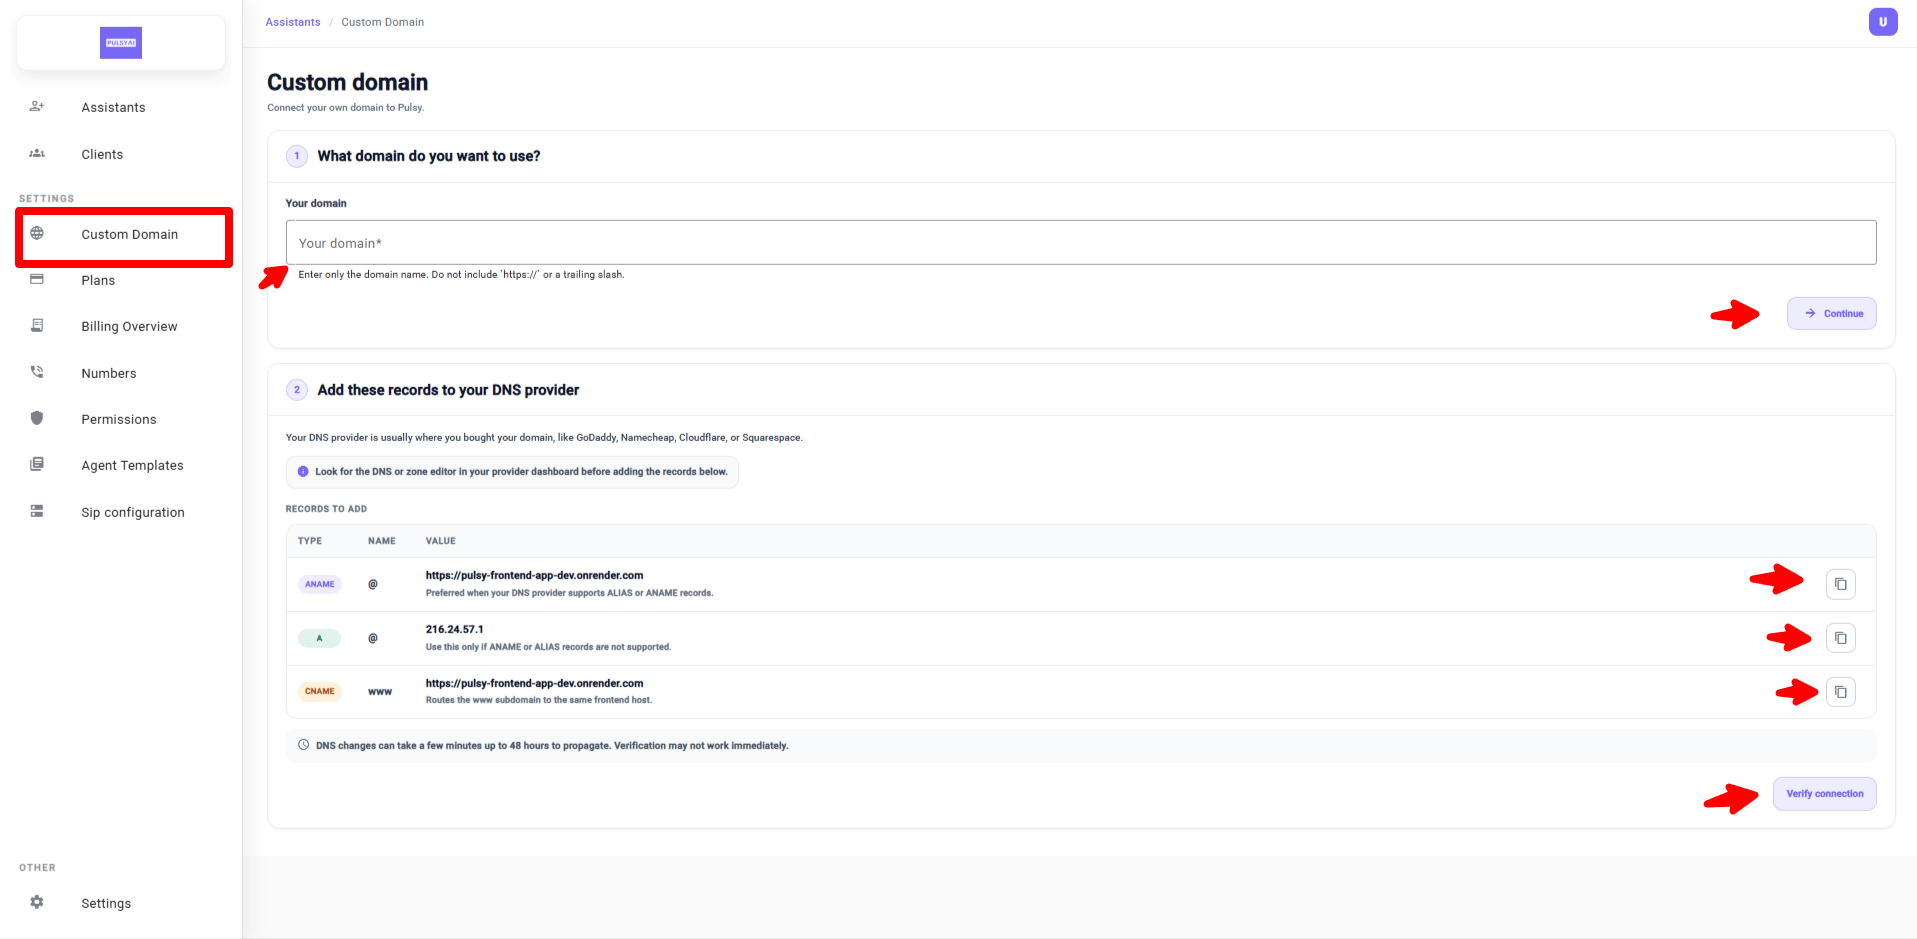
Before you start
To complete this setup, you need:- A domain you already own (purchased from a domain registrar).
- Access to the DNS or zone editor of your domain provider — this is usually in your provider dashboard under labels like “DNS Management,” “Zone Editor,” or “Advanced DNS.”
- A few minutes to add records, then up to 48 hours to let DNS changes propagate across the internet (most changes propagate in 15 minutes to a few hours).
Set up your custom domain
1
Enter your domain
In the What domain do you want to use? card, enter the domain name you want to use for your platform — for example, 
voice.yourbrand.com or yourbrand.com.Enter only the domain name — do not include https://, a trailing slash, or any path. The input expects a clean domain string.2
Add the DNS records at your provider
PulsyAI displays three DNS records you need to add at your domain provider. The exact values are shown in your dashboard — always copy them directly from the interface rather than from this guide, because they are specific to your platform.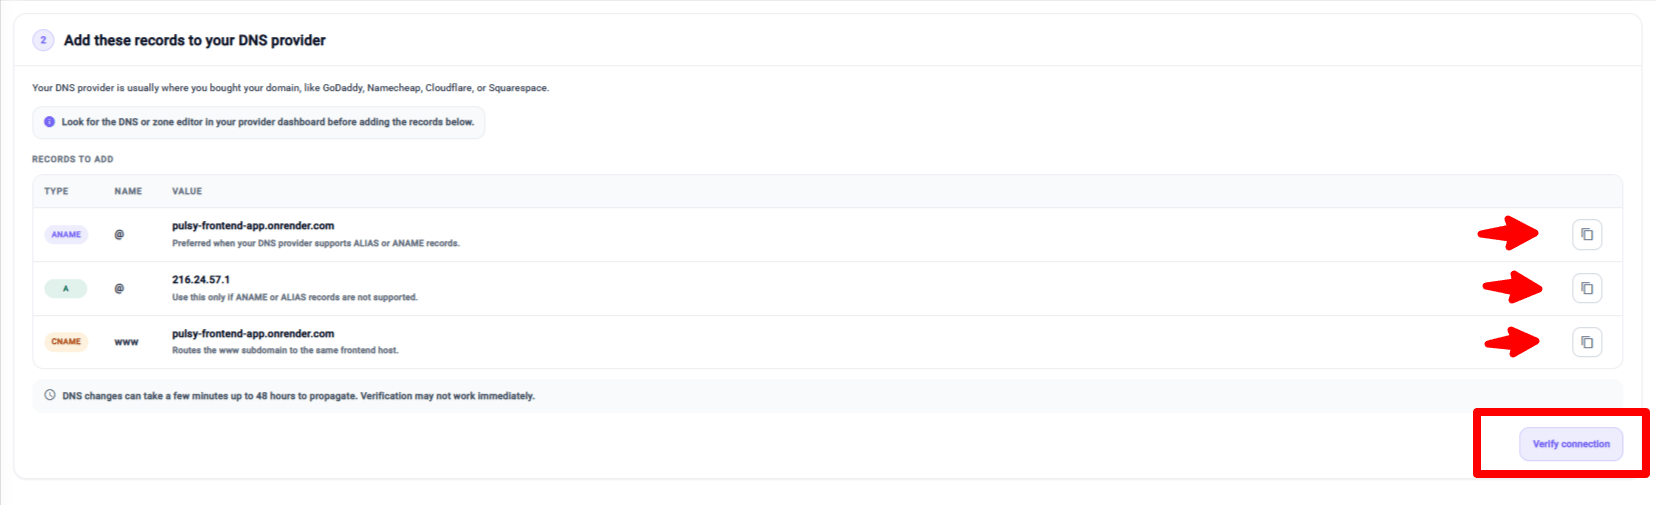
Open your domain provider’s DNS editor, then add each record exactly as shown in your PulsyAI dashboard. Use the copy buttons next to each record to avoid typos.
3
Wait for DNS propagation
DNS changes can take anywhere from a few minutes up to 48 hours to propagate across the internet. Most propagate within 15 minutes to a few hours.During propagation, your domain may not yet route to PulsyAI. This is normal — you only need to wait, then verify.
4
Verify the connection
Once you’ve added the DNS records and given them time to propagate, return to the Custom Domain page and click Verify connection in the bottom right corner.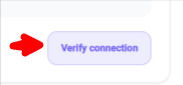
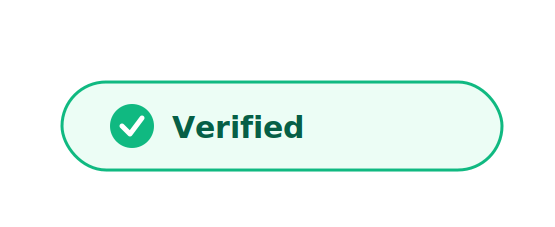
If verification doesn’t succeed
If clicking Verify connection doesn’t mark your domain as verified, the issue is almost always one of these:- DNS hasn’t fully propagated yet. Wait a few more minutes (or hours, in slower cases) and try again. DNS propagation is not instant and varies by registrar.
- A record value was typed incorrectly. Use the copy buttons in your PulsyAI dashboard to copy each value directly — even a single missing character will cause verification to fail.
- You added the ANAME and A record simultaneously. Pick one based on what your DNS provider supports — not both.
- Your provider does not support ANAME and you used it anyway. Switch to the A record instead.
- The Name field was set incorrectly. ANAME and A records use
@for the root domain; CNAME useswwwfor the www subdomain. If your provider uses a different convention (some require the full domain in the Name field), follow your provider’s documentation.
dig or DNS lookup websites) to inspect what your records currently resolve to.
Remove or change your domain
To remove or replace your custom domain, click Remove domain in the bottom right of the domain card.
A note on subdomains vs root domains
You can use either a subdomain (likeapp.yourbrand.com or voice.yourbrand.com) or the root domain (like yourbrand.com).
- Subdomains are usually easier because you can keep your existing website on the root domain and dedicate a subdomain to your PulsyAI white-label platform. CNAME records typically suffice for subdomains.
- Root domains require ANAME/ALIAS or A record support and may conflict with an existing website on the same domain. Only use the root domain if you don’t have another site there.
app.yourbrand.com or platform.yourbrand.com.
Next step
Custom Logo
Upload your branded logo to replace PulsyAI’s default branding across your platform.