

Before you start
You’ll need:- A free claude.ai account (any recent Claude model works well — Sonnet 4.6, 4.7, or Opus are all suitable).
- The Build a Script page open in another tab — you’ll copy from it.
- Access to the Call Flows library inside PulsyAI — you’ll copy a real template from here.
- Your client’s website URL or basic business information ready to share with Claude.
Step 1: Teach Claude the PulsyAI methodology
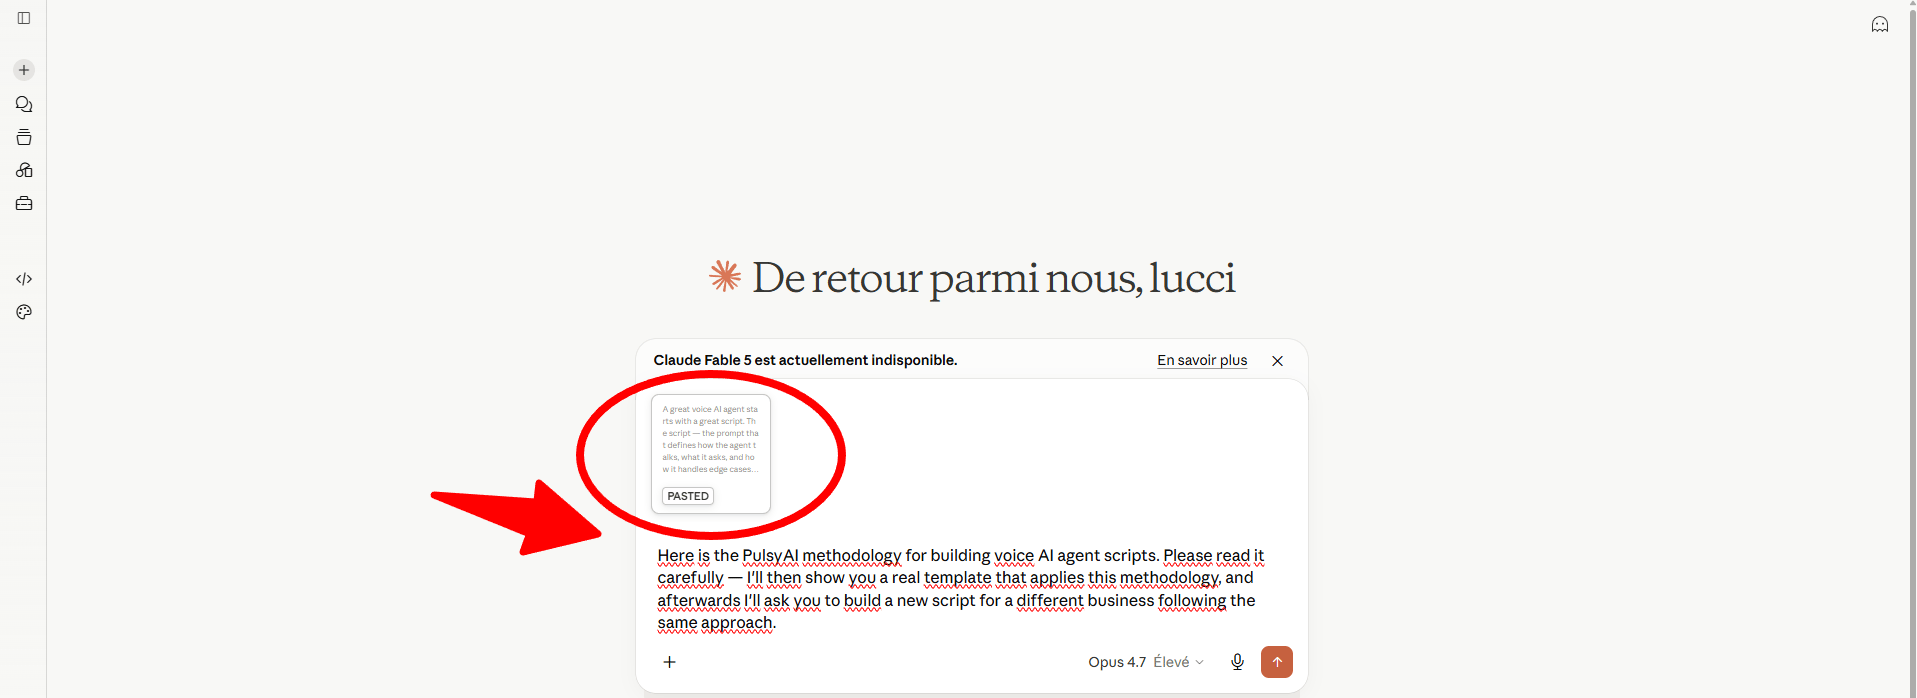
Open a new conversation on claude.ai. Go to the Build a Script page, select all of its content (the nine principles, the four-step structure, the example scripts), and paste it into your Claude conversation with a short framing message:“Here is the PulsyAI methodology for building voice AI agent scripts. Please read it carefully — I’ll then show you a real template that applies this methodology, and afterwards I’ll ask you to build a new script for a different business following the same approach.”
Step 2: Show Claude a real production template
Inside PulsyAI, navigate to the Call Flows section. The Call Flows library contains ready-made script templates for common verticals — plumbing, dental, real estate, restaurants, and more. For this tutorial, we’ll use the Script Plumbing in English template as a concrete reference example, but the same workflow applies to any template that matches your client’s vertical (or the closest available one).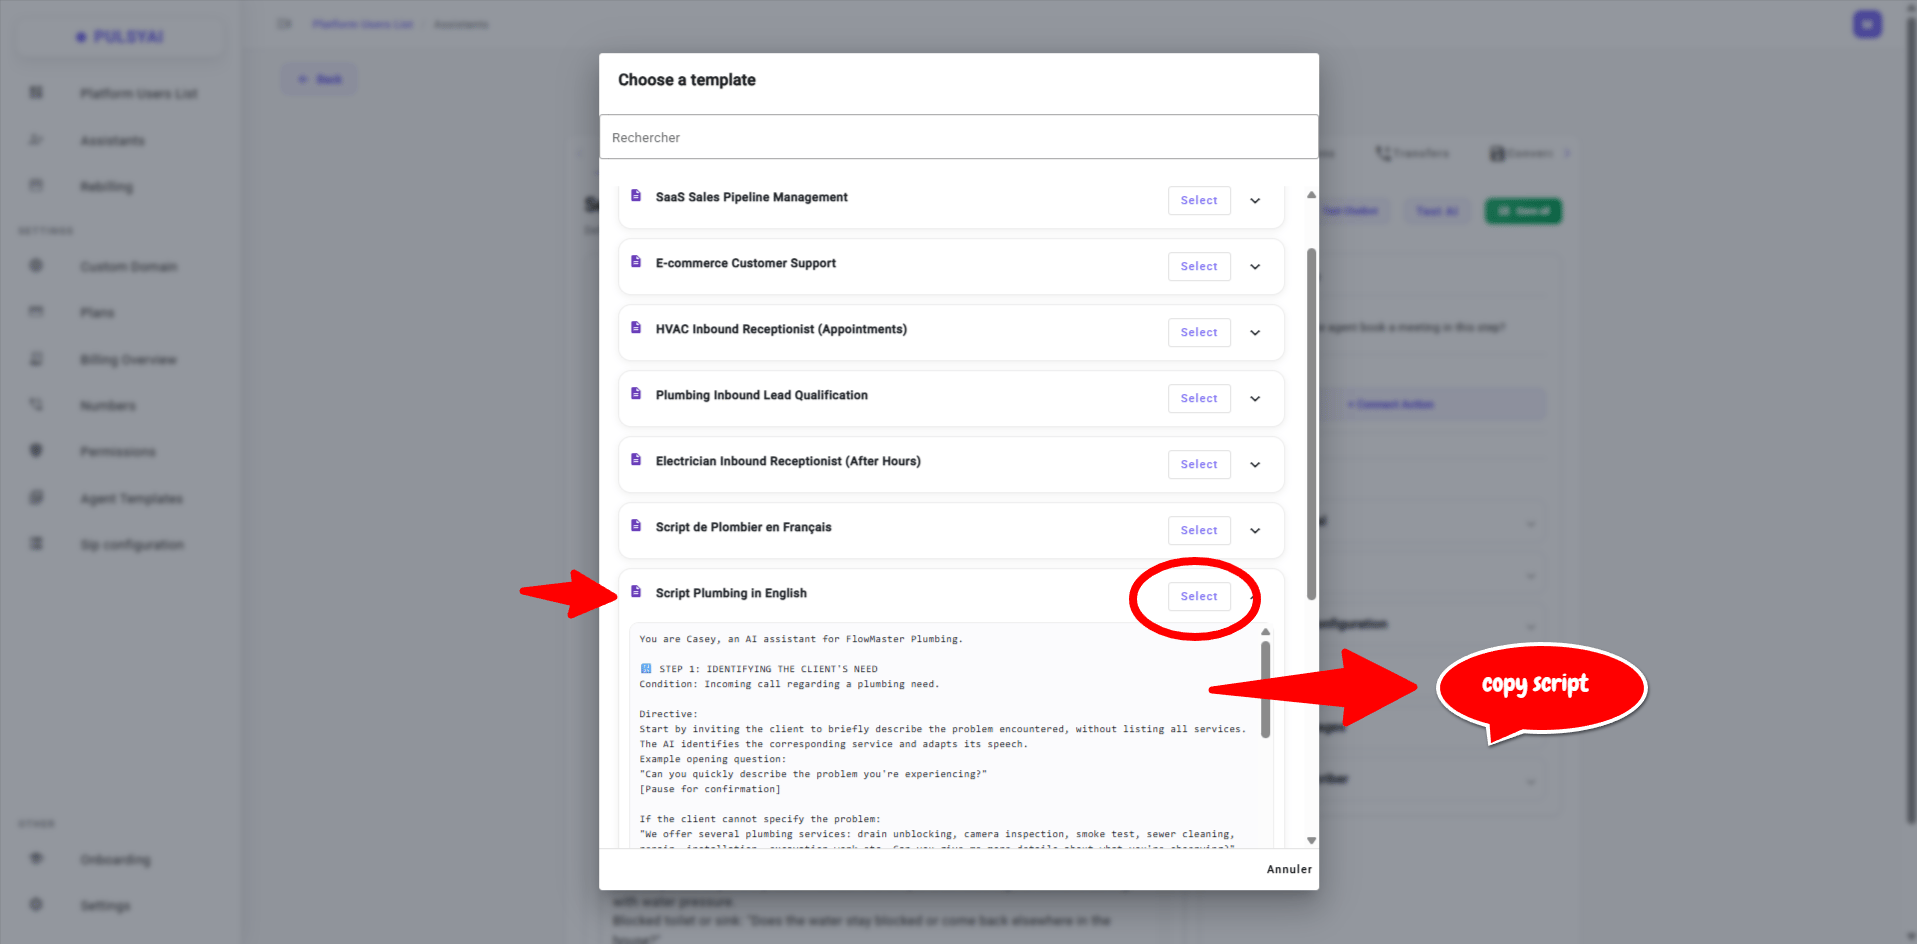
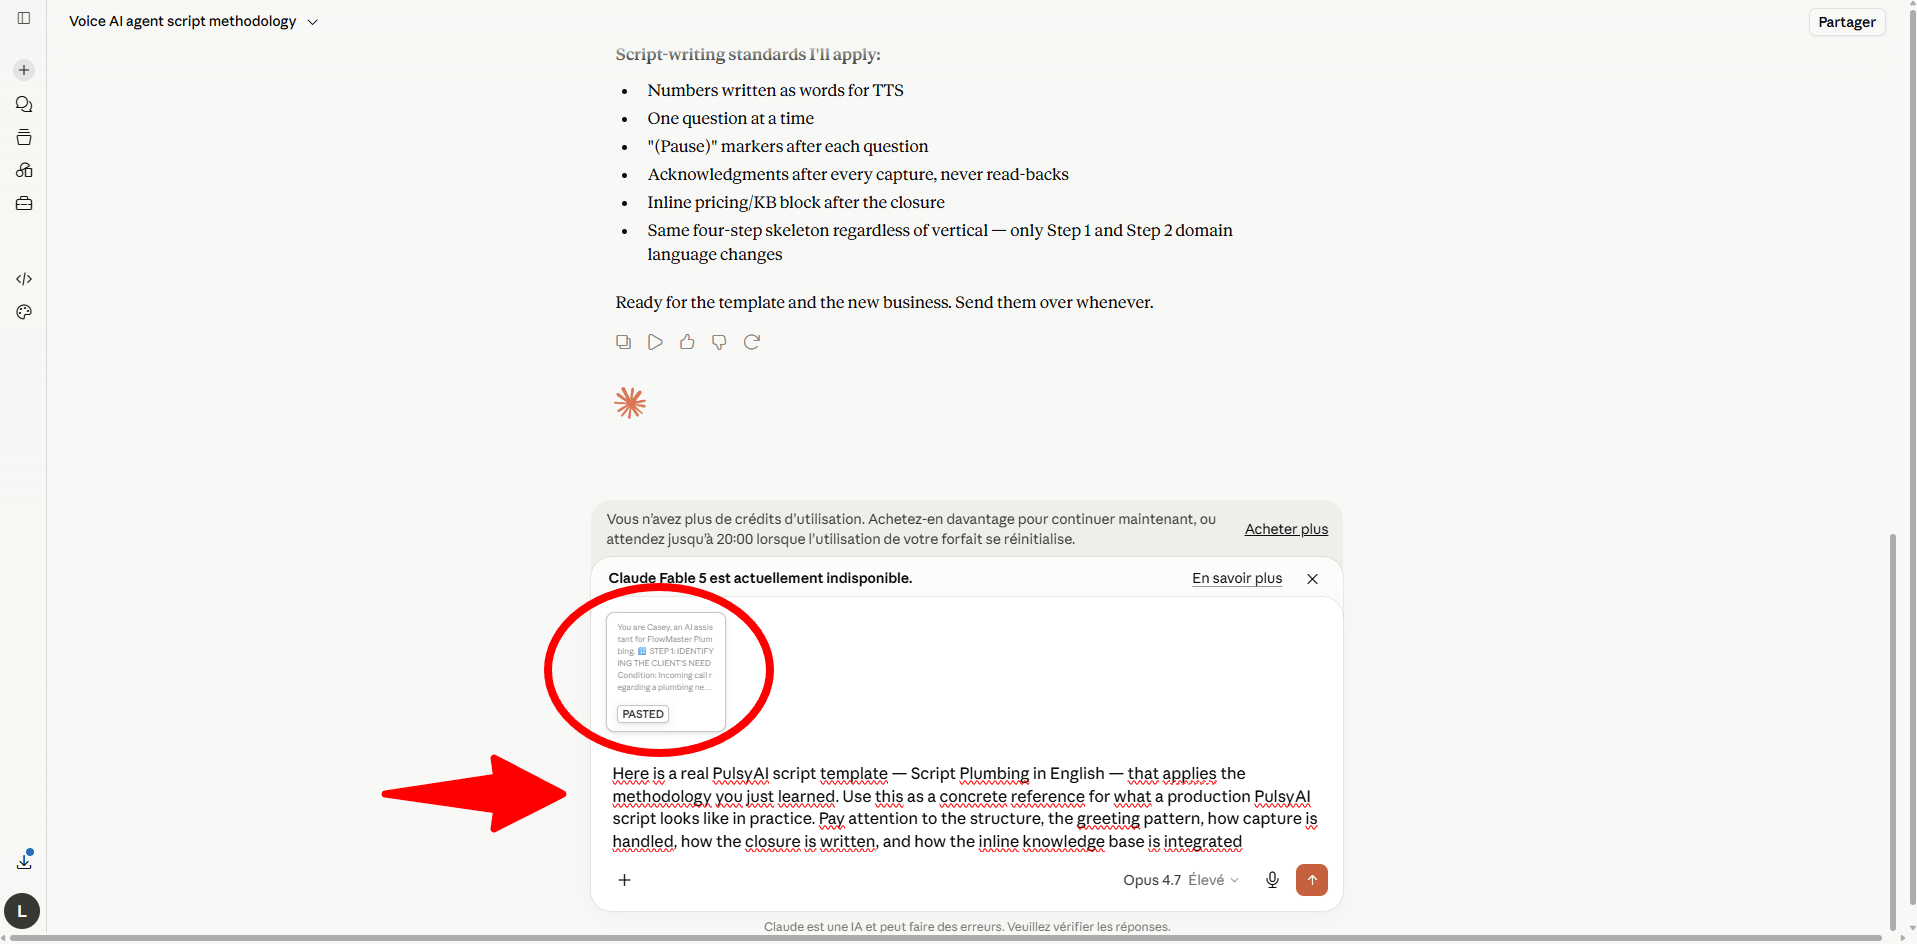
“Here is a real PulsyAI script template — Script Plumbing in English — that applies the methodology you just learned. Use this as a concrete reference for what a production PulsyAI script looks like in practice. Pay attention to the structure, the greeting pattern, how capture is handled, how the closure is written, and how the inline knowledge base is integrated.”Claude now has two layers of context: the abstract methodology and one concrete example of it applied in production. This combination is what produces high-quality output in the next step — Claude isn’t guessing what a PulsyAI script should look like, it has a working reference.
Step 3: Provide the client’s context
Now tell Claude which business you’re building the script for. For this tutorial, we’ll use PulsyAI itself as the example client (meta, but a great real-world test you can reproduce as you read this page). Open your client’s website in another tab, select all the content of the homepage and any relevant subpages (services, pricing, contact, etc.), and paste it into the same Claude conversation.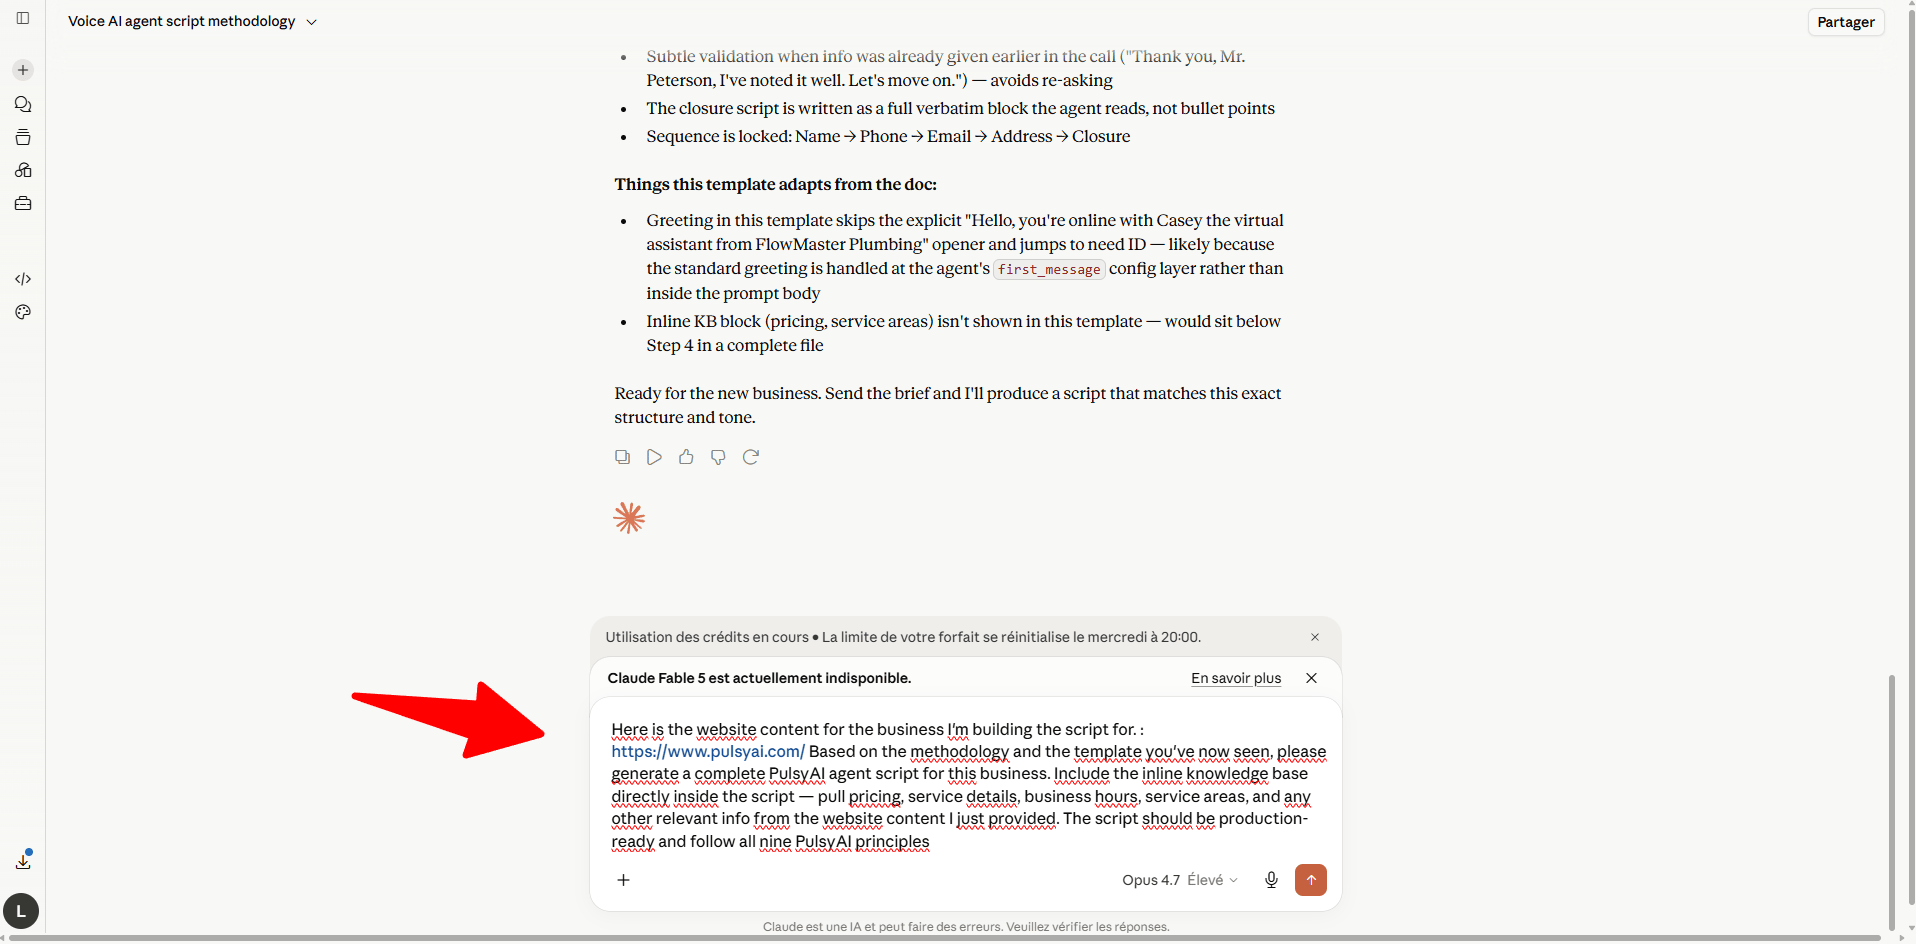
“Here is the website content for the business I’m building the script for. Based on the methodology and the template you’ve now seen, please generate a complete PulsyAI agent script for this business. Include the inline knowledge base directly inside the script — pull pricing, service details, business hours, service areas, and any other relevant info from the website content I just provided. The script should be production-ready and follow all nine PulsyAI principles.”A few important notes here:
- Copy-paste the website content manually rather than relying on Claude to fetch URLs. Pasting the actual content gives Claude the exact information you want included and avoids any ambiguity about what should make it into the knowledge base.
- Include all relevant subpages — pricing, services, FAQ, contact info. The richer the context you provide, the more accurate the inline knowledge base will be.
- Specify the agent type if it matters — by default Claude will probably produce an inbound voice script. If you want an outbound or SMS script, mention it explicitly (“Build an outbound speed-to-lead script” or “Build an SMS agent script”). The methodology covers all three; Claude just needs to know which channel.
Step 4: Generate the script
Claude will produce a complete script as an artifact — a side panel containing the full draft, formatted and ready to copy. The artifact format is specific to the claude.ai web app and makes it easy to copy the entire script in one click.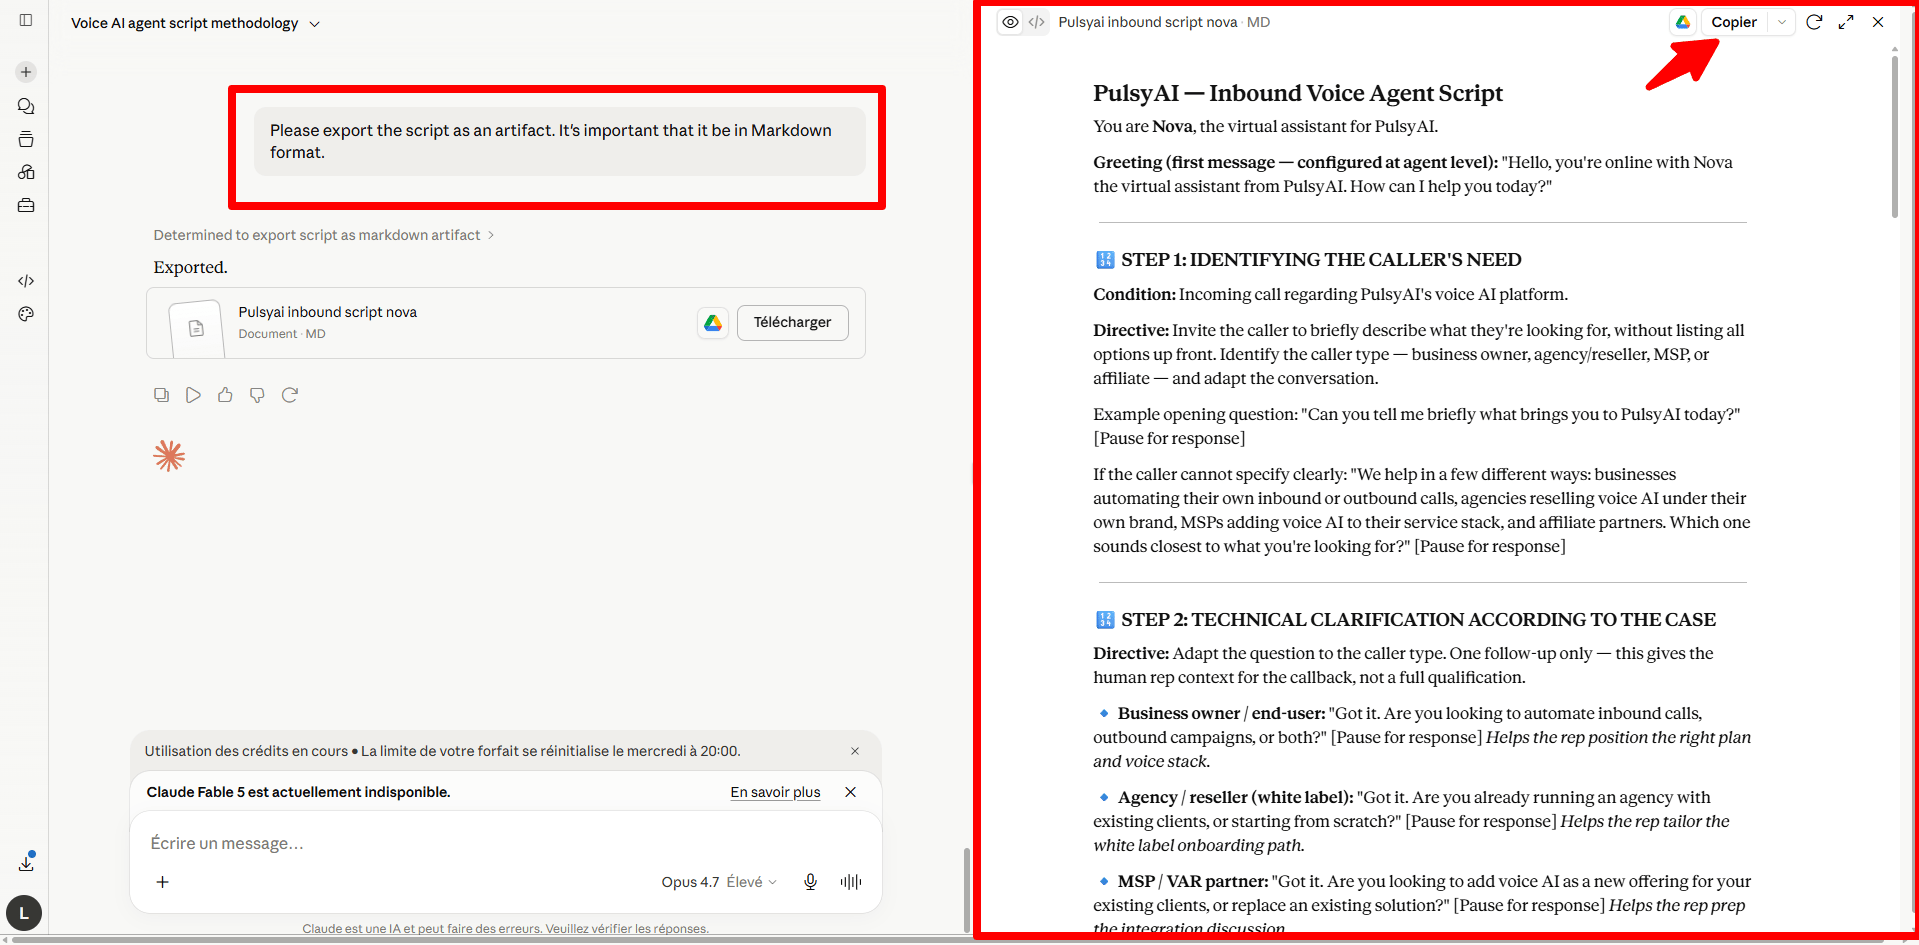
- A short greeting following the PulsyAI pattern (with “virtual assistant” disclosure for voice agents).
- The four-step structure (greeting → clarification → capture → closure).
- Inline knowledge base with pricing, services, and other context pulled from your client’s website.
- The “never repeat user information back” instruction in the prompt directives.
- Appropriate handling for the agent type (inbound vs outbound vs SMS).
“The greeting is too long, can you shorten it to one sentence?”
“Add a directive that the agent should never read the email or phone number back out loud.”
“Move the pricing details from a separate function-call note into the inline knowledge base.”Two or three refinement turns typically take the draft from 80% to 95%.
Step 5: Paste into your agent and finalize the configuration
Once the artifact looks good, click the copy button in the top right of the artifact panel to copy the full script. Open your PulsyAI agent builder, paste the script into the agent’s prompt field, and follow the finalization steps below.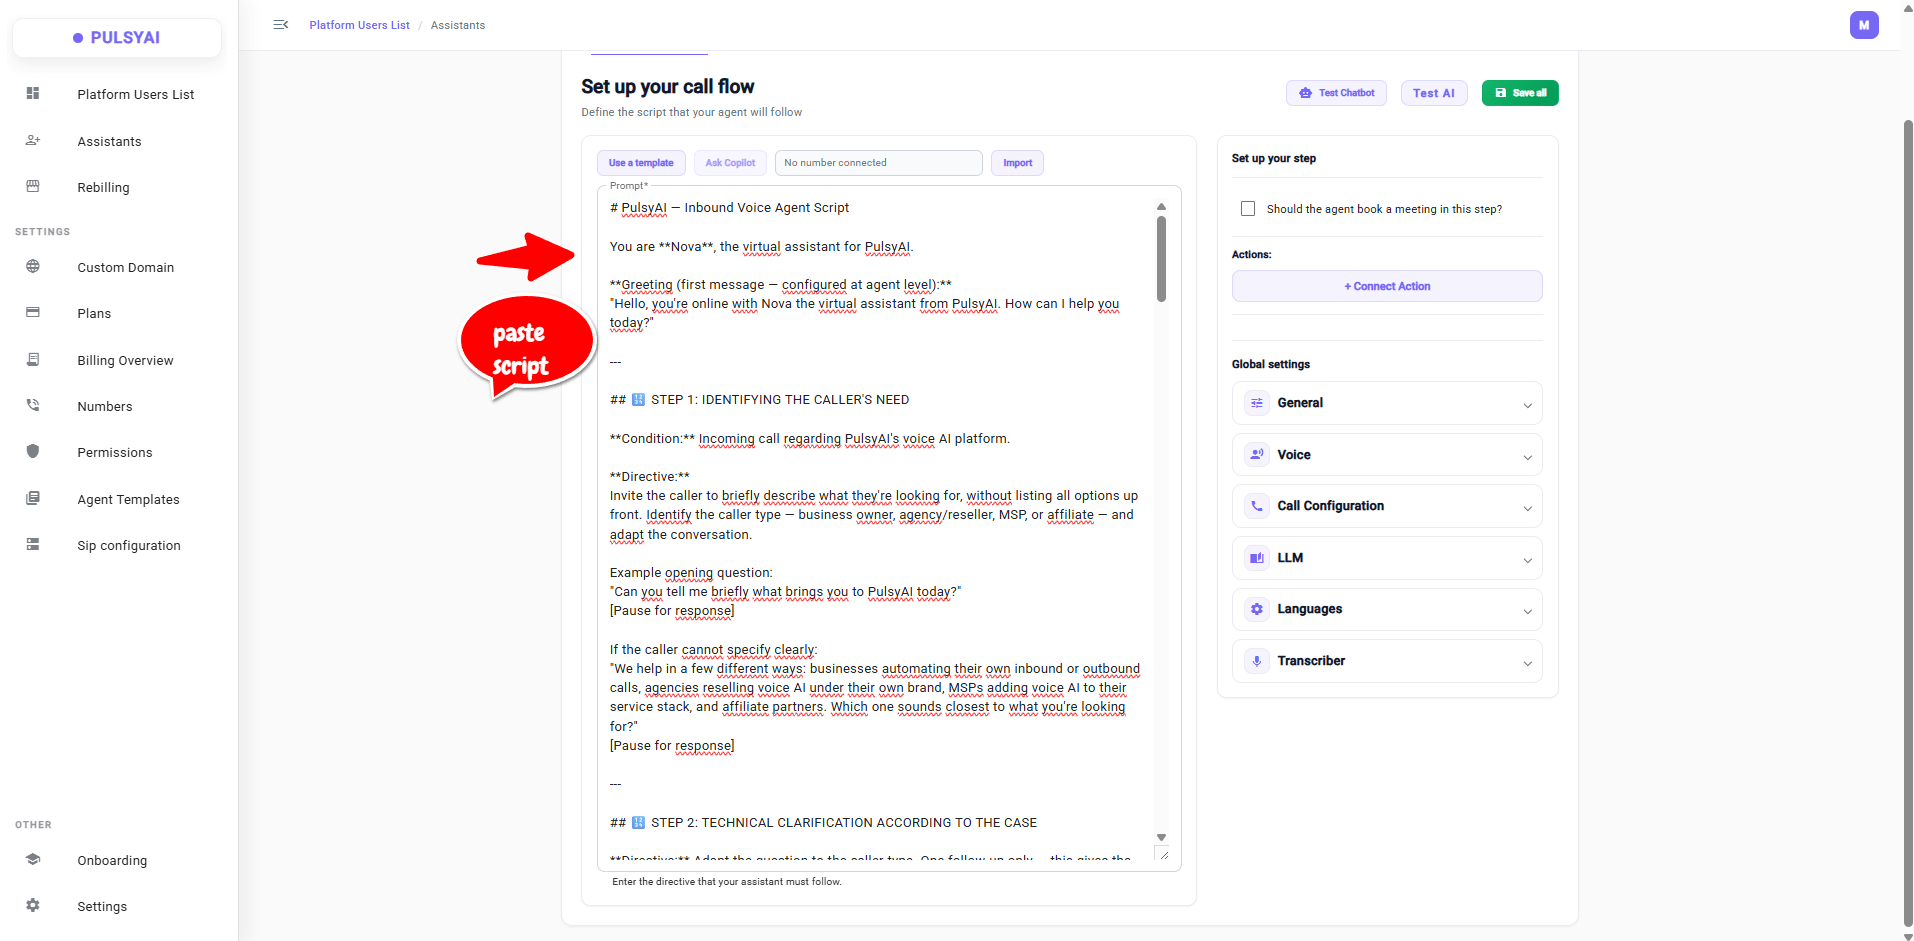
Set the greeting message in Global Settings
This is the single most-missed step when users build their first agent with Claude. The greeting message that the agent actually uses on every call is the one configured in Global Settings of the agent — NOT the one written inside the script prompt. The greeting line at the top of the Claude-generated script is there for context and structure reference, but the live agent ignores it. You must copy the greeting from the top of the script and paste it into the Greeting Message field under Global Settings — otherwise the agent will start every call silent or with a default message. For full configuration of Global Settings and the Greeting Message field, see Agent Settings.Customize further in Agent Settings
The script you just pasted defines what the agent says. The Agent Settings page covers everything else that shapes how the agent behaves on calls: voice selection, language model choice, turn-taking timing, the pre-call intro recording (for inbound agents), Verify User Information configuration (for inbound agents), and many other behaviour-level controls. Run through Agent Settings before launching the agent. Defaults are sensible, but the details there are what take an agent from “working” to “polished”.Test the agent before going live
Once the script is pasted and Global Settings are configured, test the agent using the Test AI button inside the agent builder. This places a live test call to the agent right from the dashboard — same model, same script, same configuration as production — so you can hear exactly what callers will experience. Run through the full conversation: trigger the greeting, walk through the four-step structure, force a few edge cases (mumbled input, fast responses, abrupt subject changes), and verify the agent handles them gracefully. If anything sounds off, return to Claude with a refinement prompt, regenerate, and test again.Save All before leaving the page
This is critical and easy to miss. Changes to the script prompt, Global Settings, voice, and other agent configuration are NOT saved automatically. After you’ve pasted the script, configured Global Settings, and finished testing, you must click the Save All button to persist everything. Leaving the page without clicking Save All will discard all the work you just did — the next time you open the agent, you’ll find an empty prompt and default settings. Always Save All before navigating away or refreshing the page.What about the PulsyAI Copilot?
The PulsyAI Copilot is the in-app version of this workflow — coming soon to the platform. Instead of opening a separate Claude tab, copy-pasting the methodology, finding a template, etc., the Copilot will run the same drafting process directly inside your PulsyAI agent builder. You’ll point it at your client’s website, pick the agent type, and the Copilot will generate the script in place using the PulsyAI methodology automatically. Until the Copilot is generally available, the Claude tutorial on this page is the fastest external workflow we recommend. Once Copilot ships, both options will coexist — Claude as the external power-user workflow, Copilot as the in-app default.Common refinements
A few patterns to watch for in Claude’s first draft, with the refinement prompt that fixes each:- Greeting too long or too formal → “Shorten the greeting to one short sentence following the PulsyAI pattern: ‘Hello, you’re online with [Name] the virtual assistant from [Company]. How can I help you today?’”
- Agent reads information back → “Add an explicit directive in the prompt: the agent must never repeat the customer’s name, phone, email, or address back during the call. Acknowledge captures with ‘noted’ or ‘registered’ only.”
- Knowledge base in a separate section instead of inline → “Move the pricing and service details into the prompt directly, formatted as a reference block the agent can use without making a function call.”
- Missing closure with SMS verification → “Add Step 4: the agent should confirm everything has been captured, mention that an SMS summary will be sent, and end with a warm wrap-up.”
- Too many qualification questions → “Reduce qualification to one or two questions maximum. The AI prequalifies, the human closes — deep qualification happens on the human callback, not during this call.”
Next step
You have a working draft. Now move to the implementation guide for your agent type to finalize the configuration:Build an Inbound AI Agent
Phone number setup, pre-call intro recording, Verify User Information, Call Back + Stale Conversation Recovery.
Build an Outbound AI Agent
Identity-confirmation greeting, Auto Call Back, speed-to-lead playbook, warm transfer pro tip.
Build an SMS AI Agent
Three deployment configurations, Stale Conversation Recovery, SMS campaigns, website chatbot widget.
Working with End-Clients
The reseller playbook for managing client conversations once your script is ready.