

Campaigns are available on Outbound voice AI agents (for voice campaigns) and SMS AI agents (for SMS campaigns). They are not available on Inbound voice AI agents. For an overview of the three agent types, see Key Concepts.
Create a campaign
Campaigns are created from the Campaigns tab inside an Outbound voice AI agent or SMS AI agent.1
Open the Campaigns tab
Open your Outbound voice AI agent or SMS AI agent, then click the Campaigns tab.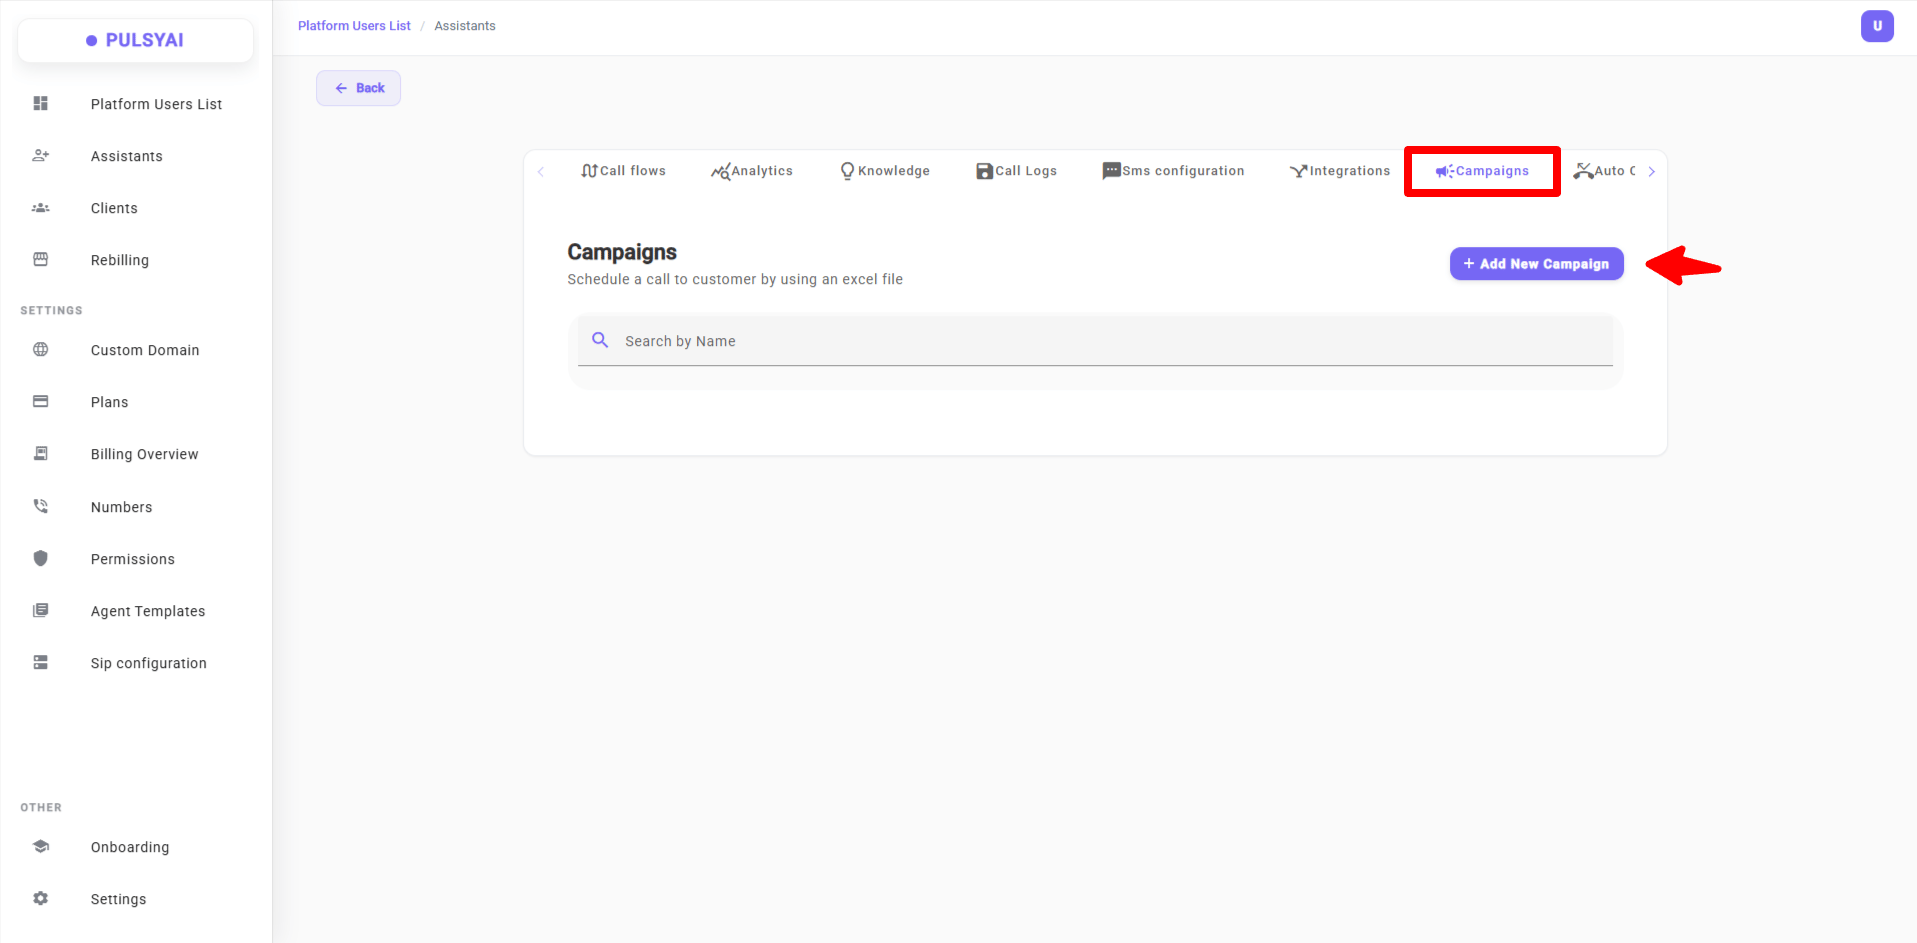
2
Start a new campaign
Click + Add New Campaign at the top right.
3
Fill in the campaign details
In the Create Campaign modal, fill in: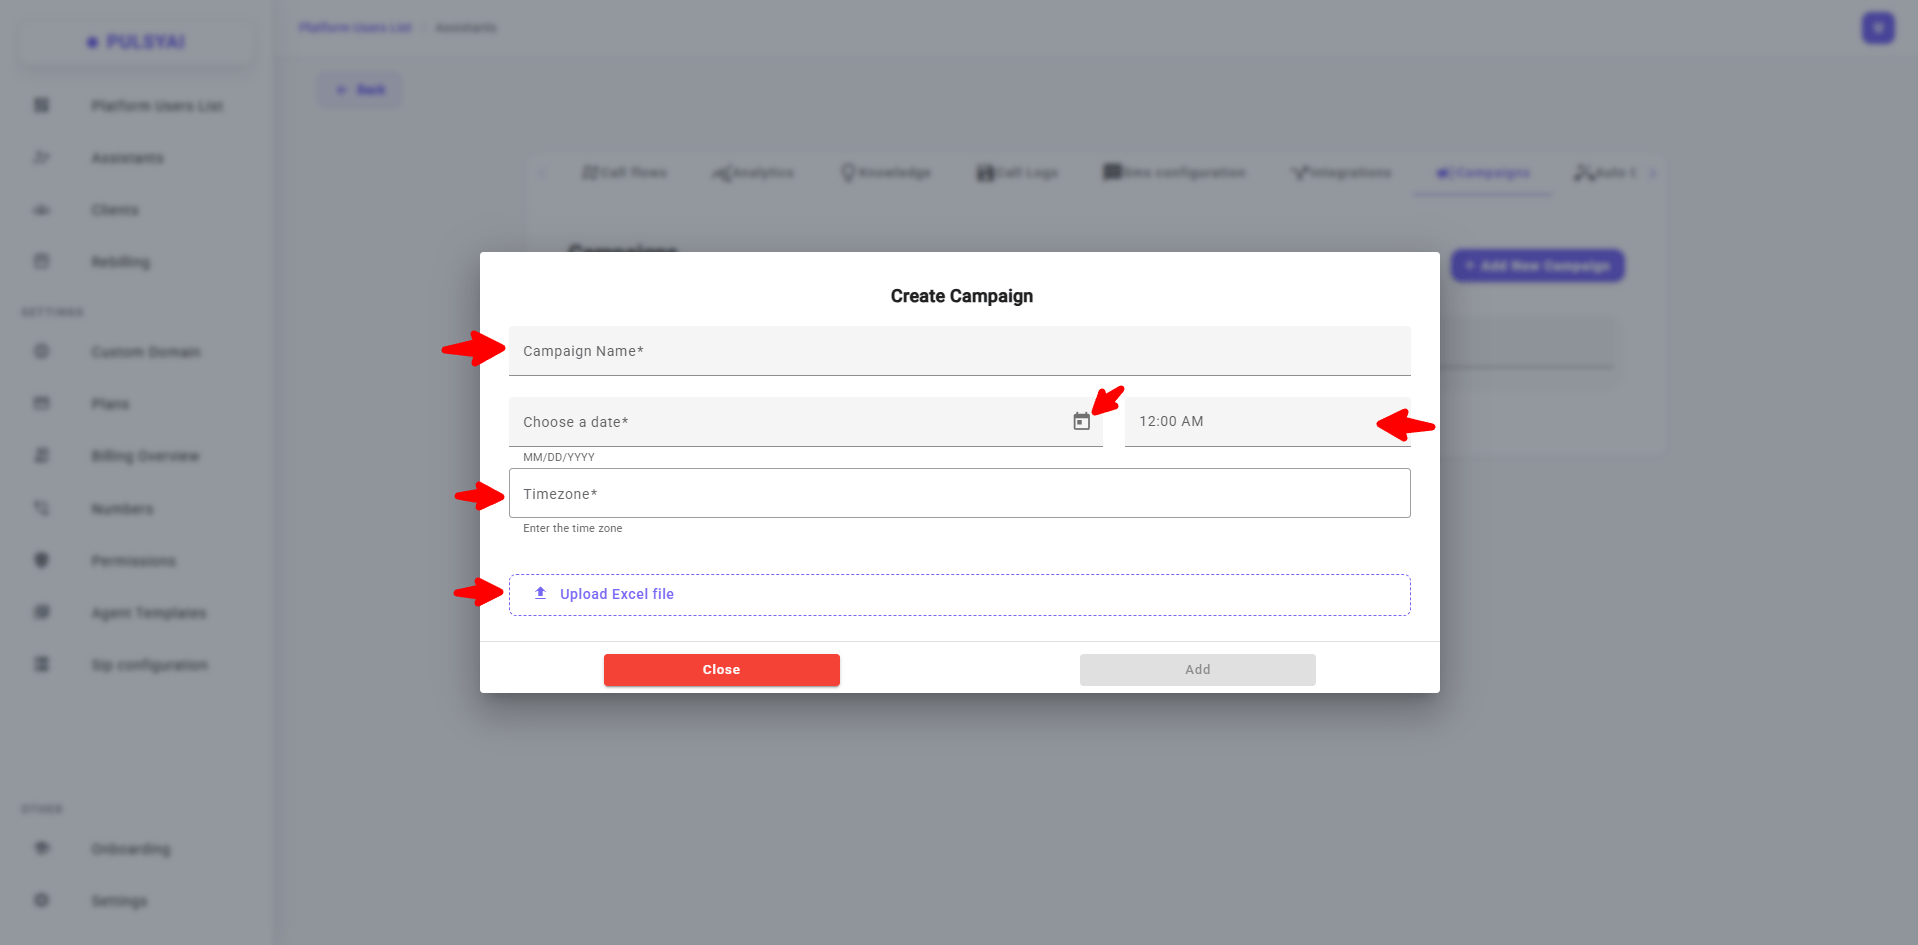
- Campaign Name — a descriptive name for tracking.
- Choose a date — click the small calendar button to open the date picker and select the date the campaign should run (MM/DD/YYYY format).
- Time — the time the campaign should fire on that date.
- Timezone — the timezone of your contact list. The campaign fires at the chosen date and time in this timezone, so leads are reached at the appropriate local time for them.
4
Upload your contact list
Click Upload Excel file and select your contact list (XLSX format only).
5
Schedule the campaign
Click Add to save and schedule the campaign.
Excel file format
Your Excel file is the contact list that powers your PulsyAI campaign — it tells the agent who to reach and supplies any additional data the script needs.- File format: XLSX only.
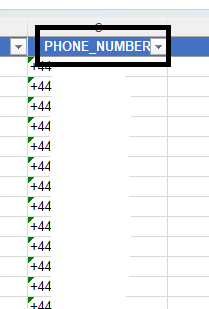
- Required column:
PHONE_NUMBER— must be spelled exactly this way (uppercase with underscore). The phone number must be in E.164 format (international country code included), for example+447733696134.
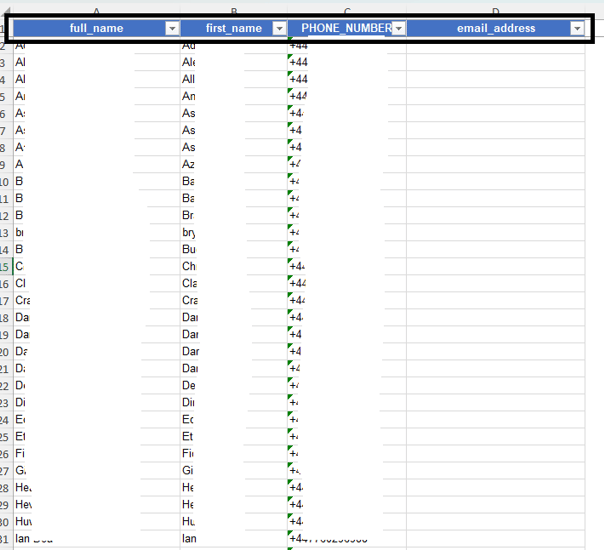
- Custom columns: all other columns are fully customizable. Name them however you want —
first_name,full_name,email_address,balance_due,last_purchase_date, etc. Each becomes a dynamic variable available inside your agent’s script.
Using your Excel data in the agent script
Every column in your Excel file becomes a dynamic variable inside your agent’s Call Flow script — letting the agent address each contact personally and adapt the conversation based on their data.- Reference any Excel column using single curly braces with the exact column name from your file:
{first_name},{full_name},{email_address}. - The column name in your script must match the Excel header exactly, including case sensitivity.
{first_name}matchesfirst_name, but notFirst_Nameorfirstname. - The
PHONE_NUMBERcolumn can also be referenced as{PHONE_NUMBER}in your script if you want the agent to confirm the number with the contact.
“Hello {first_name}, this is your PulsyAI assistant calling from Acme Corp…”
When the campaign fires, each call replaces {first_name} with the value from that contact’s row in the Excel file.
Campaign lifecycle
A PulsyAI campaign moves through three states during its lifetime:- Scheduled (green badge) — the campaign is queued and will start at the configured date and time. The card shows the scheduled execution time.
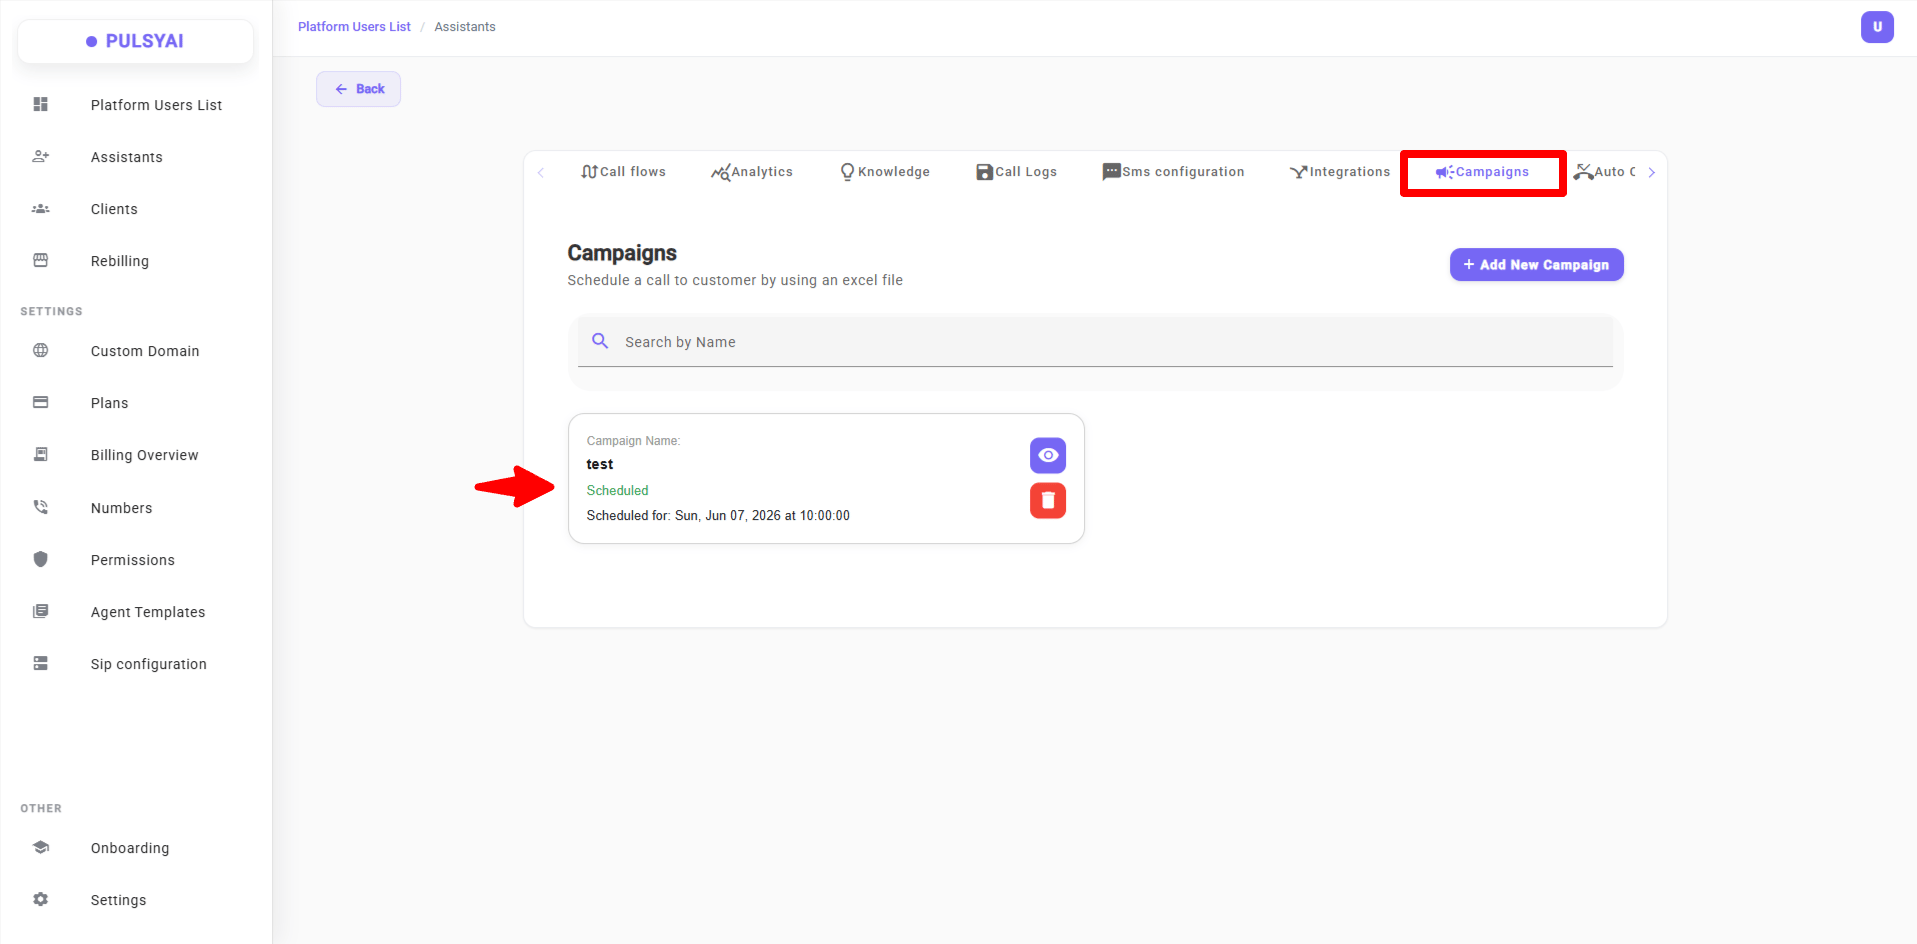
- Active — the campaign is currently running. Calls or messages are being placed.
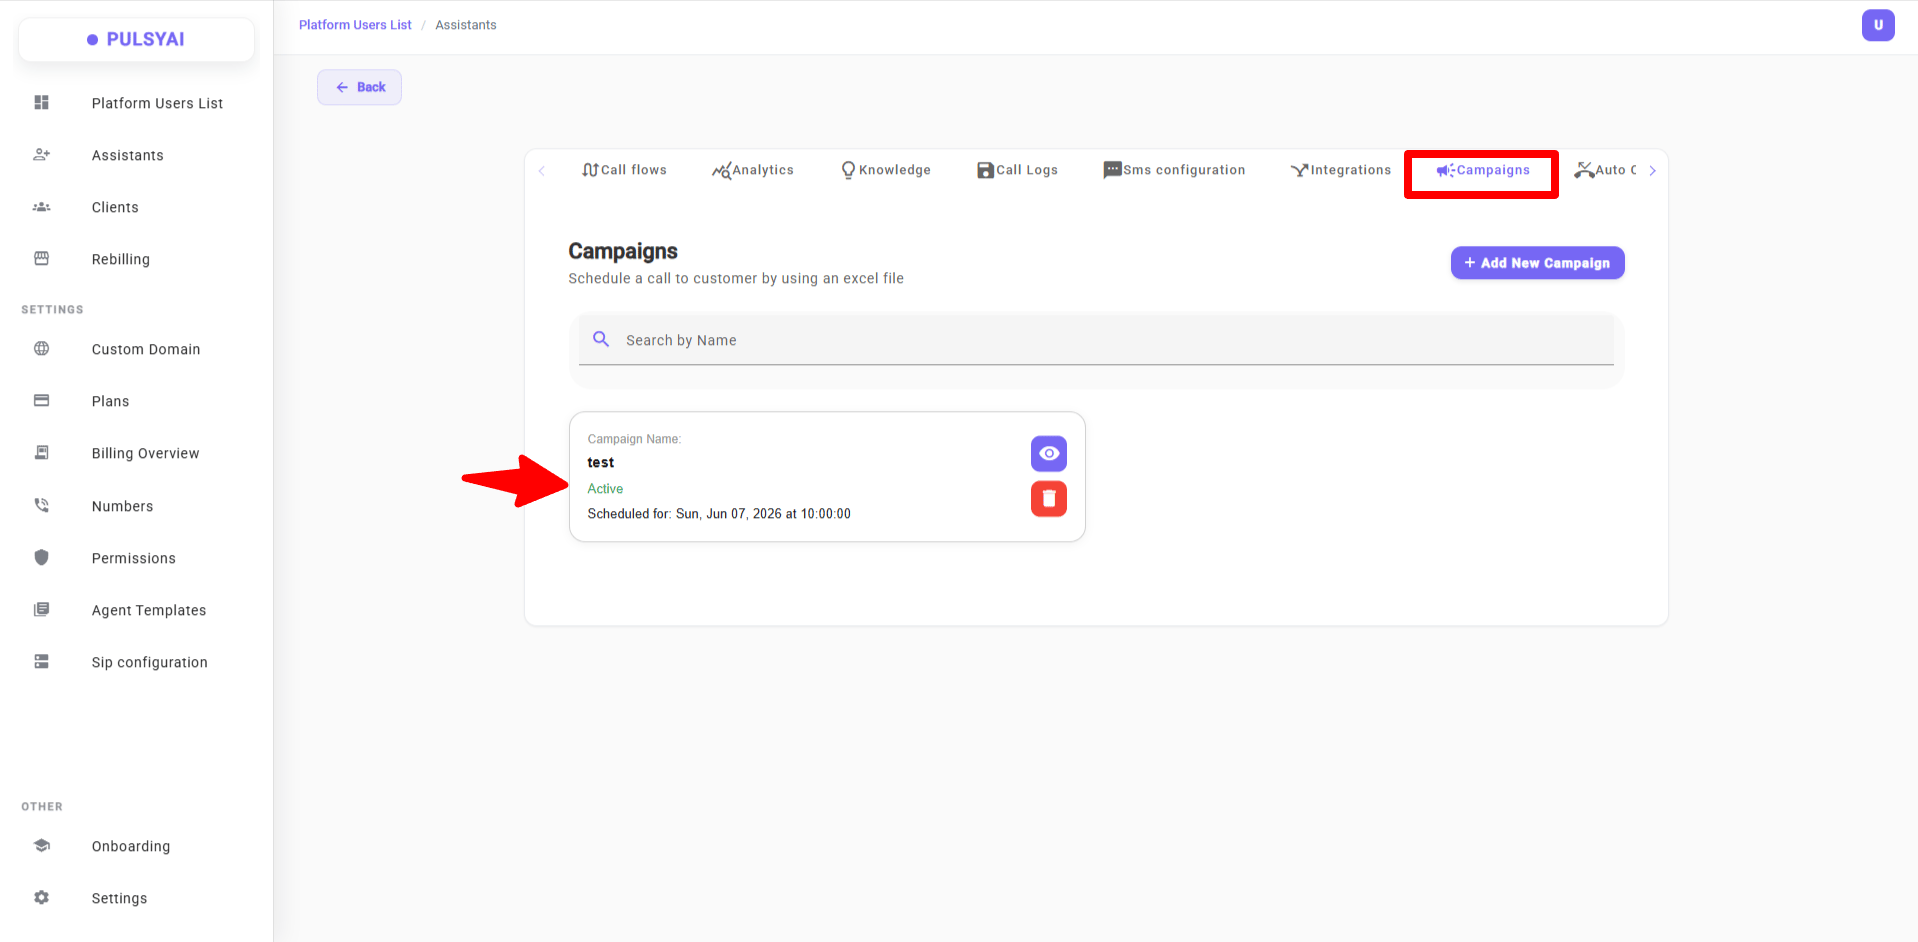
- Completed — all contacts in the Excel file have been processed.
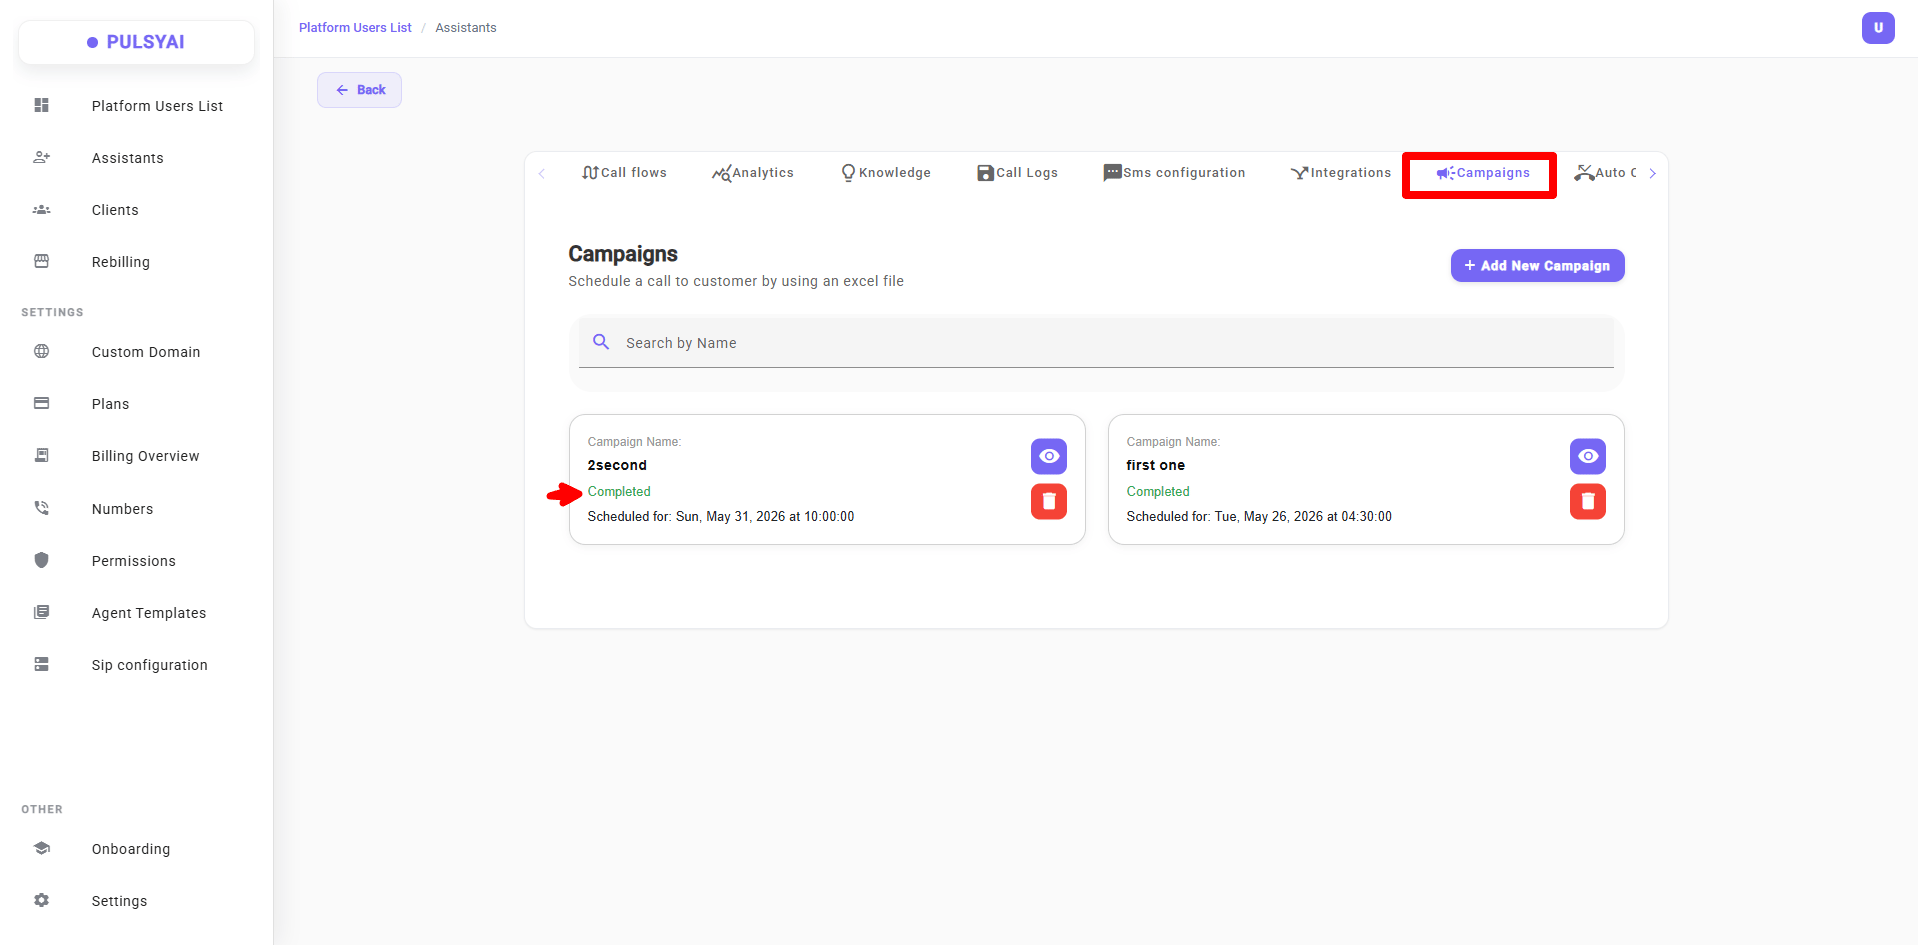
Managing campaigns
Each campaign card includes a Delete action (red trash icon) that removes the campaign entirely from your list.Where to see campaign results
Every call or message placed by a PulsyAI campaign is logged in your agent’s standard dashboards:- Call Logs — individual call records, including duration, outcome, and transcripts.
- Analytics — aggregate metrics across your campaign and all your agent’s activity.